
If your home is feeling drafty or outdated, it might be time to replace your windows. Replacing old or damaged windows can significantly improve a home’s energy efficiency, comfort, and aesthetic appeal. However, before running to the store and buying new windows, homeowners need to know how to measure their existing windows accurately.
Measuring windows isn’t as simple as putting a tape measure up to the corner and jotting down the length and width, so it’s important to follow the right procedures to get a fitting replacement. Read on to see the process of measuring windows for replacement from start to finish.
Understanding Window Terminology
Before diving into the measurement process, it’s important to get familiar with some basic window terminology. These terms aren’t common knowledge to most homeowners, so take some time to read up on them before starting your project.
Key Window Components
- Sill: The bottom horizontal part of the frame
- Jambs: The vertical sides of the frame
- Head: The top horizontal part of the frame
- Sash: The internal, moving part of the window that holds the glass. If you just need to replace the sash, check out our guide on window sash replacement.
- Rough opening: The frame hole size
- Actual window size: Slightly smaller than the rough opening to allow for installation
Understanding these terms will help homeowners navigate the measurement process more confidently and accurately.
Tools for Measuring Windows
Like any DIY task, it’s impossible to measure your windows without having the right tools. Here are the essential tools homeowners should gather before starting:
- Steel tape measure
- Digital laser measure (optional for hard-to-reach areas)
- Carpenter’s square
- Notepad and pen
- Step ladder (if needed)
Many homeowners already have most of these tools, but if you want to upgrade your toolbox, I recommend getting a digital laser measure for hard-to-reach areas.
Steps To Measure Windows for Replacement
Accurate measurements are crucial for getting your replacement windows to fit properly. Follow these steps to measure windows correctly:
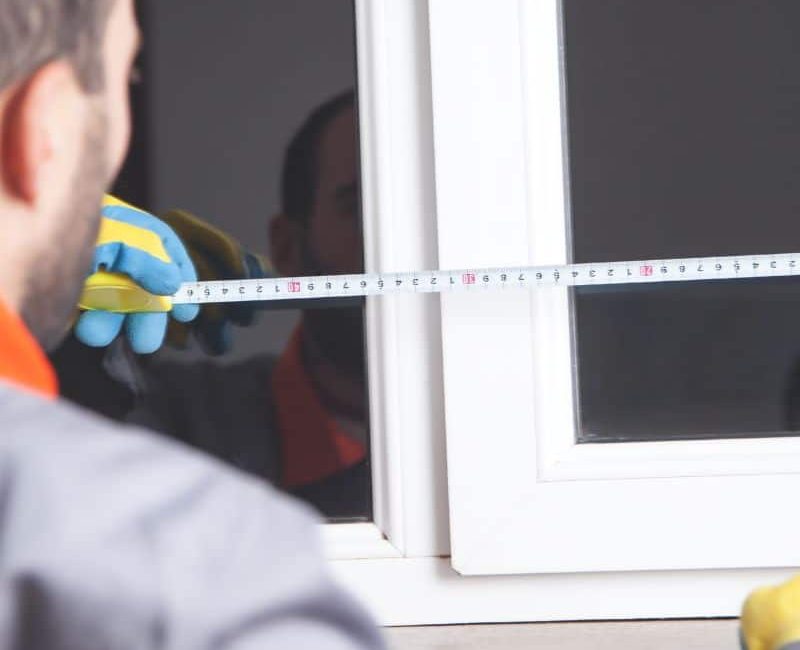
Measuring Width
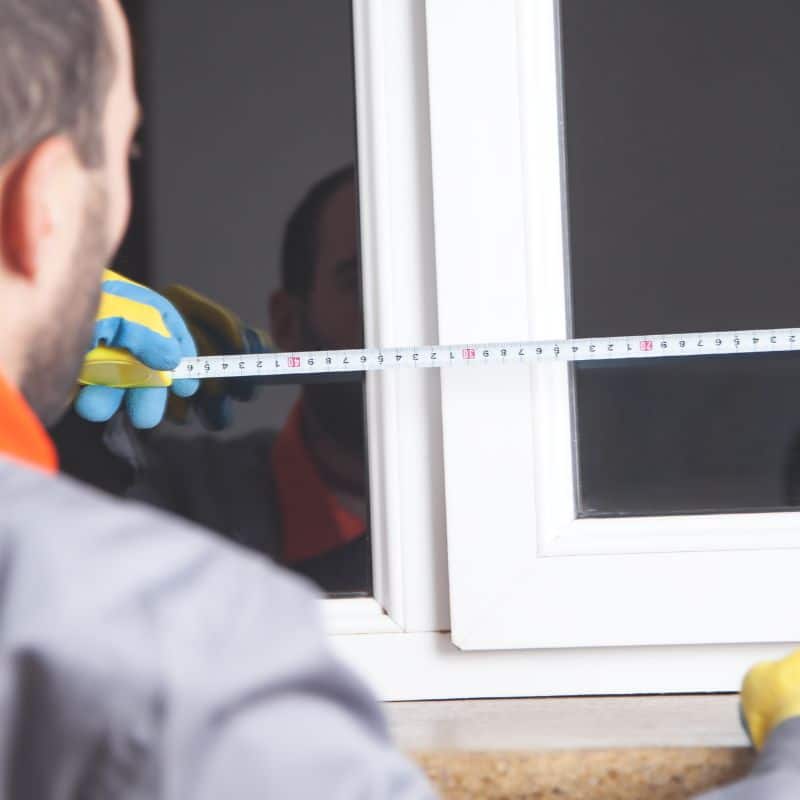
The first and easiest measurement you’ll want to get is the window’s width. To do this, start at the top right side of the window, then extend the tape measure horizontally across the window from the inside of one jamb to the other. Repeat this process for the middle and bottom parts of the window. To expose the jamb at the bottom of the window, move the sash upward to the top, then measure in the window opening. Remember to always use the shortest measurement when determining the window’s width.
Measuring Height
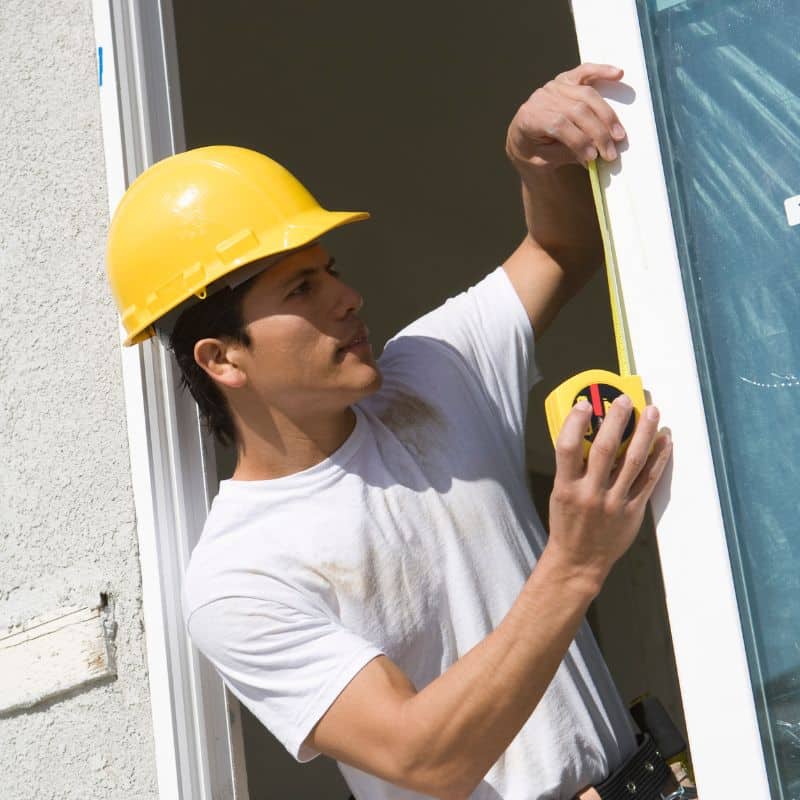
Next, you’ll need to find the height of the window. Begin in the top right corner, inside the window frame. Extend the tape measure straight down to where the window sash meets the sill then repeat this step for the center of the window and the left side. Similar to measuring the width, you should use the smallest of the three measurements when determining the window’s height.
Measuring Depth
While not always a requirement, measuring the window’s depth can be important, especially for homes with thin walls. To measure the depth, open the window sash and measure from one side of the window frame to the other from the inside of the window trim. Repeat this process for all sides of the frame. Ignore all internal parts of the frame, such as parting strips and blind stop strips, because you’ll take these out during the replacement process.
Determining Square
Ensuring the window is square is important for a proper fit. Start in the top right-hand corner of the window and run the tape measure diagonally to the bottom left-hand corner. Repeat this step from the top-left corner to the bottom right, and if the distance between both corners is within one-quarter of an inch of one another, the window is square. If the measurements differ by more than a quarter-inch, you’ll have to square the window before installing a replacement.
Tips for Accurate Window Measurements
To avoid some common measuring pitfalls, keep these tips in mind:
Round Down for Simplicity
When dealing with complex measurements, round down to the nearest one-eighth of an inch. For example, if a side measures 32 and 24/32 of an inch, round it down to 32 and 6/8 of an inch.
Measure Each Window Individually
Even if windows in the same room appear similar in size, always measure each window individually. This practice ensures all replacement windows will fit properly.
Always Measure From the Inside
For most replacement projects, measuring from the inside of the home is easier and safer. It’s rare that you’d need to measure windows from the outside.
Double-Check Measurements
Take the time to double-check all measurements. Even a small error can cause problems down the road.
Account for Window Trim
For interior trim, measure from trim edge to edge. For exterior measurements, focus on the window opening without including the trim. If you feel like your window trim is leading to air leaks, do a DIY home energy assessment and seal any leak to save on heating and cooling costs.
Common Window Types and Measurement Considerations
Different window styles may require slightly different measurement approaches. Here’s how to handle some common window types:
Double-Hung and Single-Hung Windows
These windows slide vertically and are some of the most common types of windows in homes. Measure the width at three points and the height at three points, using the smallest measurements.
Sliding Windows
For sliding windows that move horizontally, follow the same process as double-hung windows, but be sure to measure the height at three points across the width.
Casement and Awning Windows
These windows swing outward. Measure the width and height at three points each, and be sure to account for the cranking mechanism when measuring depth.
Bay or Bow Windows
These complex window arrangements require special attention. Measure each window within the bay or bow configuration separately, following the standard process for each.
Understanding Window Sizes
When ordering replacement windows, it’s important to understand the difference between the rough opening and the actual window size.
Rough Opening Vs. Actual Window Size
The rough opening is the frame hole size, while the actual window size is slightly smaller to allow for installation. In general, your window should be 1/4 inch to 1/2 inch smaller than the rough opening on all sides.
Standard Window Sizes
While custom sizes are available, many manufacturers offer standard window sizes. Knowing these can help homeowners understand if their windows fall within typical ranges or if you may need to put in a custom order.
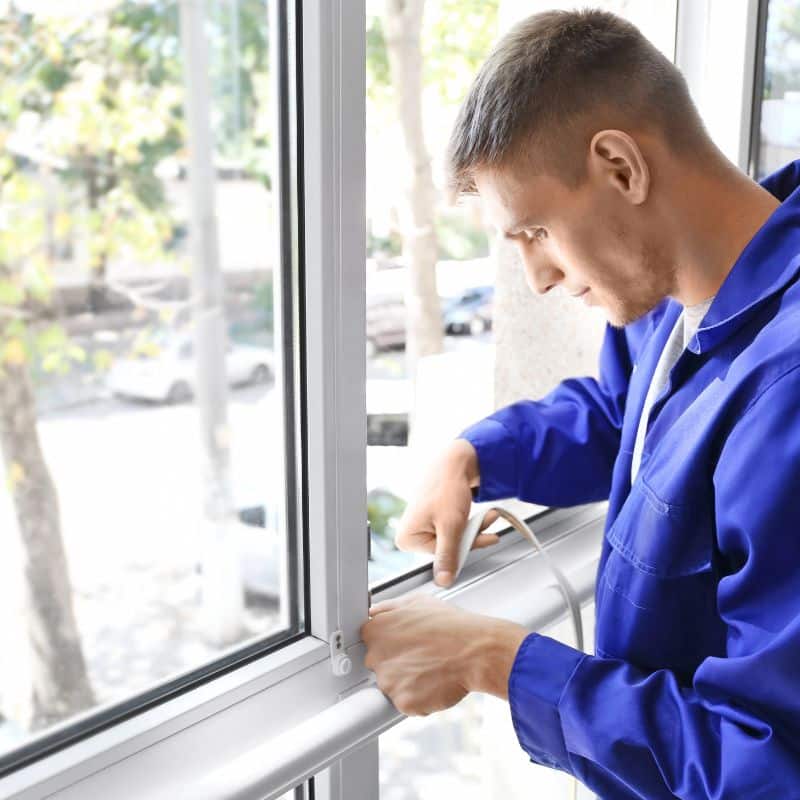
When To Call a Professional
While measuring windows for a DIY window replacement is typically straightforward, there are situations where it’s best to call in a professional. Call an expert if you have the following:
- Complex window configurations
- Historic or unusually sized windows
- Are unsure about measurements
- When structural issues are present around the window
Professional window installers have the experience and tools to ensure accurate measurements, especially in challenging situations. If you’re looking for a window company, I highly recommend Sierra Pacific Windows. For more on professional window installation, check out our guide on window replacement costs.
Final Thoughts About Measuring Windows for Replacement
Measuring windows for replacement is the first step in any window renovation project, so it’s important to get it right. If you do, you shouldn’t have any problems when ordering replacement windows. If you don’t, you’ll cause a lot of headaches for yourself down the road. Remember, accuracy is key — taking the time to measure carefully and double-check all measurements will pay off in the long run.


Leave a Reply